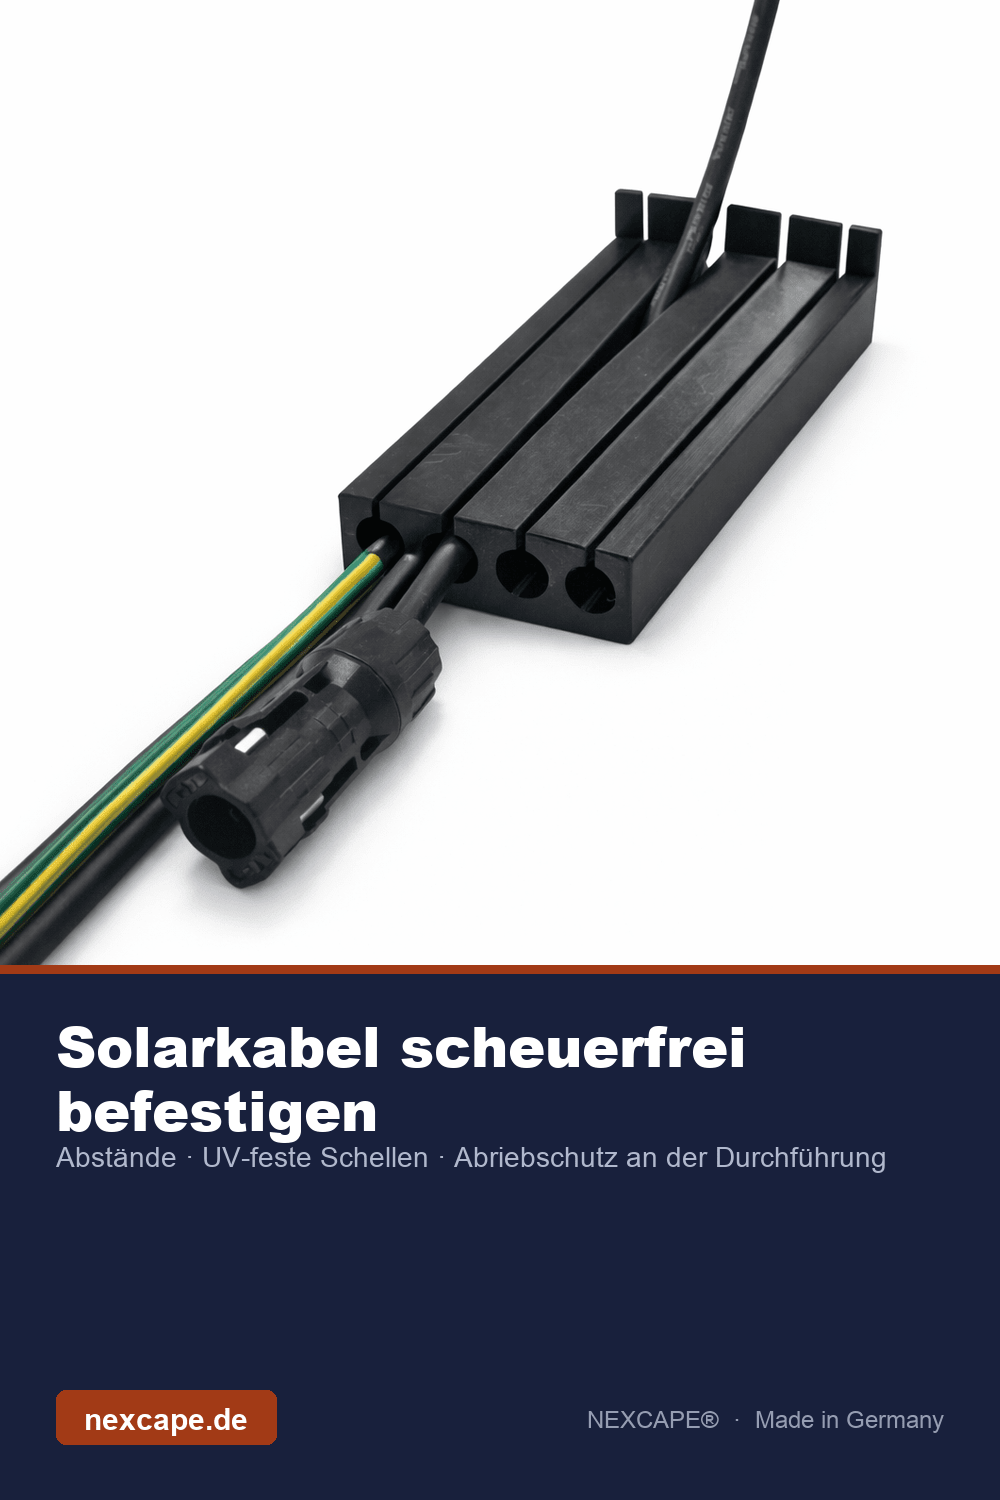
Why many PV systems also require an earthing cable on the roof
When installing a photovoltaic system, it's not just about the two solar cables (plus and minus). Depending on the system and applicable regulations, an earthing or equipotential bonding cable must also be routed from the roof into the house – for example, for equipotential bonding of module frames and substructure.
Important note: Whether and how earthing is done is always decided by a qualified electrician according to the applicable standards (e.g., DIN VDE). This guide does not cover electrical design, but rather the purely mechanical question: How do you route PV cables and earthing cables neatly and without chafing through your tiled roof?
The real problem: multiple cables at one penetration point
Anyone who provisionally threads solar and earthing cables through the roof risks exactly what will be costly later: The cables rest on the sharp tile edge and chafe through over the years – insulation damage, and in the worst case, a short circuit. Multiple cables in one place exacerbate this because they push each other against the edge.
The clean solution: a lead-through for PV cables + earthing
The NEXCAPE PV roof lead-through is available in versions that accommodate PV cables and an additional earthing/PE cable together (e.g., "2 cables + earthing" or "4 cables + earthing"). The component made of flexible TPU lies between the cable and the tile and permanently protects all wires at the contact edge from abrasion – Made in Germany.
For clarification: The lead-through is purely an abrasion protection, not a sealing element. The rain resistance of your roof, as always, comes from the professional tiling – the lead-through is placed between the tiles without tools and leaves the covering intact.
In 4 steps: routing PV cables and earthing together
- Choose the suitable version (number of PV cables + earthing) and length according to the tile overlap (105/125/150 mm).
- Lightly grind down the tile at the contact edge so that the lead-through has space.
- Insert PV cables and earthing cable – the pre-assembled MC4 connectors do not need to be removed for this.
- Hook in the lead-through, replace the tile. The electrical connection of the earthing is carried out by a qualified electrician.
Which version & length fits?
The correct length depends on the overlap of your roof tiles (installation-dependent) – there are 105, 125, and 150 mm available. The version depends on the number of cables plus earthing. A detailed size guide can be found in the size guide.
Frequently asked questions
Do I even need an earthing cable? That depends on your system and the applicable standards and is decided by the qualified electrician. If equipotential bonding is necessary, this cable must also be run to the roof – and routed cleanly.
Do I have to cut the MC4 connectors? No – the lead-throughs are designed so that the pre-assembled connectors fit through completely.
Does the lead-through seal the roof? No. It is a mechanical abrasion protection for the cables at the tile edge. Rain tightness is provided by the professional tile covering.
Suitable lead-through with earthing: View PV roof lead-through for cables + earthing – or all versions in the PV roof lead-through collection.
Do you want all this information in one place? Our complete guide: Safely routing PV solar cables through the tiled roof bundles size selection, installation, and material knowledge.