Why loosely laid solar cables on the roof become expensive
The modules are in place, the strings are connected – and then the solar cables are often just quickly laid "somehow" across the roof surface. This is precisely where damage occurs that you only notice years later: A loosely hanging PV cable moves with every gust of wind, chafes against tile edges, roof hooks or the substructure, and over time, the insulation wears off. The result is insulation faults, ground faults, and in the worst case, an arc flash.
Before we start: The electrical design (cross-section, fusing, connection) should be handled by a qualified electrician. This guide covers the purely mechanical aspect: How do you secure the cables so that they don't chafe?
The right spacing: Fasten every 30–50 cm
The most important rule is: The cable must not sag and must not rest on sharp edges. As a rule of thumb, you fasten solar cables at intervals of approximately 30 to 50 cm – tighter in areas with a lot of wind exposure (roof edge, free spans). This keeps the cable taut and prevents it from shifting.
Make sure that no cable lies in a hollow where water collects, and that it is not pulled tightly over a metal edge anywhere – otherwise, chafing will start immediately there.
What matters for cable clamps
Extreme conditions prevail on the roof: UV radiation, heat, frost. Cheap cable ties made of standard plastic become brittle and break here within one to two years – then the cable lies loose again. Therefore, only use UV and weather-resistant fastenings (e.g., black, UV-stabilized cable clamps or stainless steel clips on the substructure). Tighten them firmly enough so that nothing slips, but not so tight that the clamp itself cuts into the insulation.
The most critical point: the roof penetration
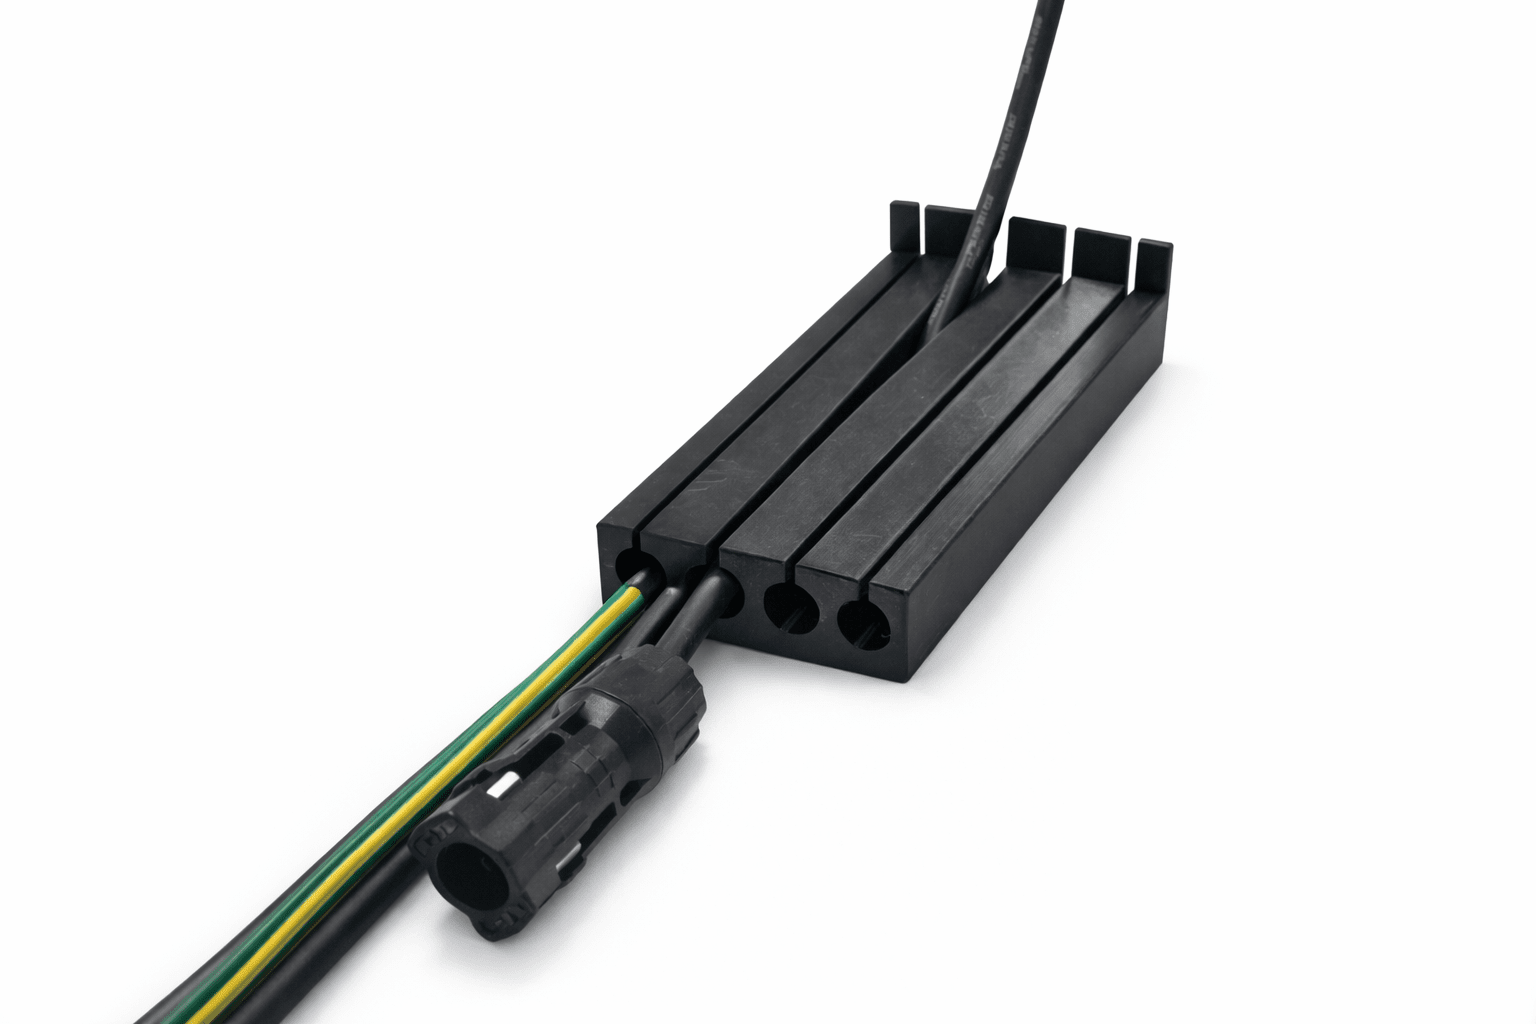
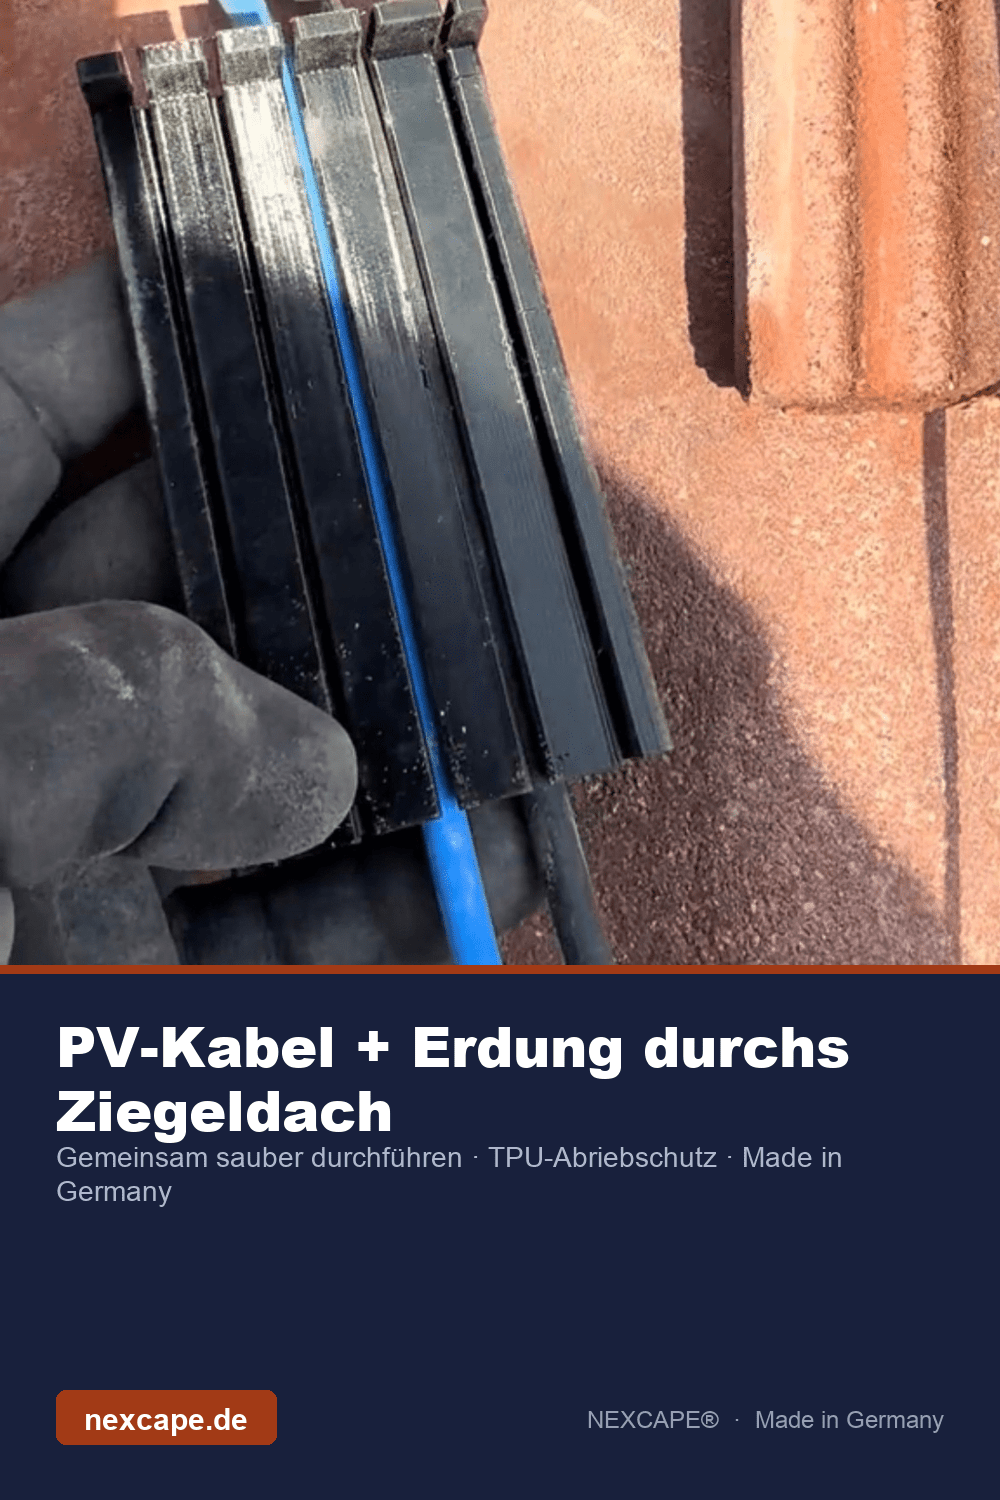
No matter how neatly you fasten on the surface – the greatest risk of chafing lies where the cables penetrate the roof and are routed indoors over the sharp tile edge. This is precisely for this point that the NEXCAPE PV roof penetration exists: a flexible component made of TPU that lies between the cable and the tile and permanently protects the wires at the contact edge from abrasion – UV-resistant and Made in Germany.
For clarification: The penetration is a pure abrasion protector, not a sealing element. Rain safety, as always, comes from professional tile roofing. The penetration is placed between the tiles without tools – the pre-assembled MC4 connectors do not have to be removed for this. The appropriate length depends on the overlap of your roof tiles (installation-dependent); for this, there are 105, 125, and 150 mm – details in the size guide.
Securing solar cables without chafing – the quick guide
- Plan the cable route: shortest sensible route, no hollows, no sharp edges.
- Use UV and weather-resistant clamps/clips – no standard cable ties.
- Fasten every 30–50 cm, tighter at the roof edge; keep the cable under slight tension.
- At the penetration point, use a roof penetration as abrasion protection.
- Leave the electrical connection to a qualified electrician.
Frequently Asked Questions
At what distance do I fasten solar cables? As a rule of thumb, every 30–50 cm, tighter in wind-exposed areas. The cable should neither sag nor run tightly over an edge.
Are normal cable ties sufficient? No. Standard cable ties become brittle and break due to UV and frost. Use UV-stabilized clamps or stainless steel clips.
Why do cables chafe through at all? Because they move in the wind and rub against tile edges or metal. Firm fastening plus abrasion protection at the penetration point prevent this.
Abrasion protection for the penetration point: all variants can be found in the PV roof penetration collection. More on material topics: Why insulation ages – and how to protect it.
Are you planning the entire installation? Our complete guide: Safely routing PV solar cables through the tile roof bundles size selection, installation, and material knowledge.