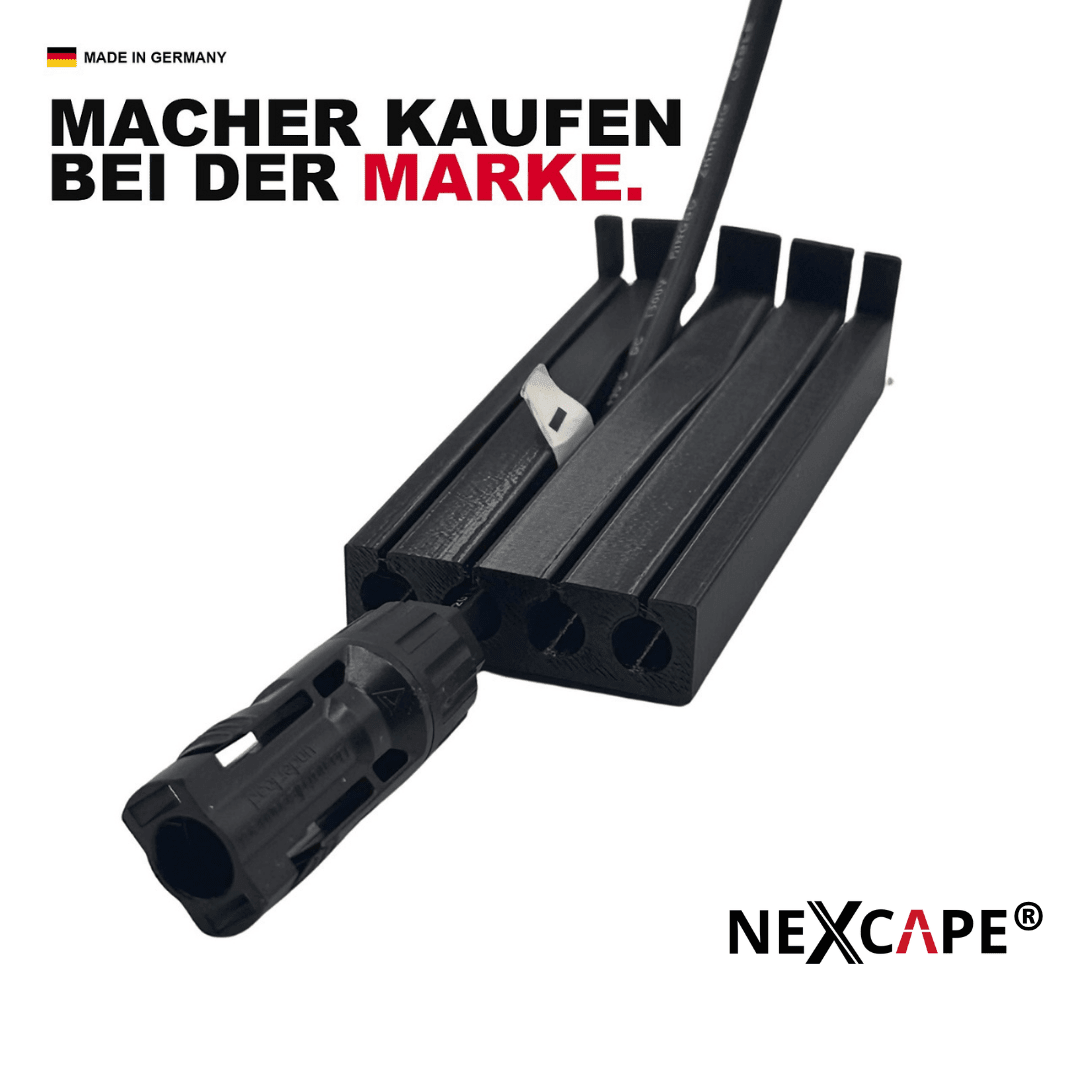
The complete guide for homeowners, DIY enthusiasts, and installers: from the initial roof penetration to permanently protected cable routing. Including size selection, installation steps, material science, and answers to the most frequently asked questions.
What it's about – and why roof penetrations are underestimated
When a PV system is installed on the roof, the solar cables must pass from the roof into the house at some point. This roof penetration is small but co-determines the lifespan of the entire system. If the cables run unprotected over the sharp tile edge, they will chafe through over the years – a typical, avoidable error that leads to costly complaints. This guide brings together all important information in one place and links detailed instructions for each topic.
Why solar cables on a tiled roof must be protected
Modules supply direct current, which is routed via DC cables to the inverter. At the roof penetration, the cable rests against the hard ceramic edge of the tile. Due to wind, vibration, and daily thermal expansion, there is constant micro-movement – over years, the cable insulation rubs against the edge. Once the insulation is damaged, earth faults, power loss, and in the worst case, an arc flash can occur. We delve into how and why insulation ages here: Why cable insulation ages. A PV roof gland neatly routes the cable into the tile and permanently protects it mechanically from this abrasion – it is the simplest insurance against one of the most common PV damages.
Ways into the house – overview of methods
There are several ways to bring the cable into the house: through the external wall, via existing ventilation/antenna penetrations, or directly through the roof tile. For a classic tiled roof, the tile-integrated penetration is the neatest and most unobtrusive way – it blends into the roofline and requires no additional drilling in the facade. A comparison of the methods (especially for balcony power plants) can be found here: Routing solar cables into the house – 3 methods compared.
Choosing the right roof penetration: size & tile
It is crucial that the penetration matches your roof tile and the number of cables. As a guide:
- 105 mm – compact, for many common tiles and smaller setups (e.g., balcony power plants).
- 125 mm – fits, among others, the widely used Frankfurter Pfanne (Frankfurt pan tile).
- 150 mm – the flexible size that fits many tile shapes.
You also choose the version according to the number of cables: 2 cables (one string) or 4 cables (two strings), optionally with an earthing cable. We explain which size fits which tile in detail in the Size & Tile Guide and for commercial use in the Commercial Guide. The complete selection is available in the PV Cable Glands category.
How many penetrations do I need?
A common misconception: the number depends not on the number of modules, but on the roof penetrations and strings. Two cables (positive and negative) run per string – a 2-cable gland is sufficient for this. If your system has two strings (four cables), you can use either a 4-cable gland or two 2-cable glands. Most single-family homes manage with 1–2 penetrations. If you are planning a second roof side or a later expansion, it is worth having a second piece in reserve right away – for this, we offer our Economy Sets with quantity discounts (cheaper per piece, free shipping from €20).
With or without MC4 connector removal?
With many traditional solutions, MC4 connectors have to be removed to thread the cable through a narrow opening – this takes time and creates an additional source of error when reconnecting. Our DIY series is designed so that the cable is inserted from the side and the connectors can remain attached. You can read a direct comparison here: With vs. without MC4 removal; why this is a real time-saver especially for installation companies, here: Without MC4 removal.
Installation step by step
- Prepare the tile: Grind or cut out the tile at the penetration point as appropriate. Illustrated instructions are available here: Cutting out roof tiles – step by step.
- Insert cable: Clip the solar cable into the gland from the side – in the DIY series, tool-free and without MC4 disassembly.
- Insert: Hook the gland with the cables into the prepared tile and place the tile back.
- Strain relief & inspection: Lay cables without tension, observe minimum bending radius, check fit – the cable is now neatly laid and protected from the tile edge.
Material: TPU, Made in Germany
Our glands are manufactured from weather and UV-resistant TPU in our own workshop in Wildberg, Germany. TPU is robust, durable, and remains dimensionally stable even in heat and frost – ideal for permanent outdoor use on the roof. By manufacturing in Germany, we deliver directly from stock, with short delivery times and personal support.
Special case: balcony power plant
Even with a balcony power plant, the cable should be protected when routed into the house. We show how this can be done tool-free and – especially for renters – without leaving residue and reversibly here: Balcony power plant cable through the roof as well as Balcony power plant in a rented apartment and through wall or roof.
The most common mistakes – and how to avoid them
Most damage results from a few avoidable mistakes: running the cable unprotected over the tile edge, lack of strain relief, too tight a bending radius, or the wrong gland size. The most important points compactly: 5 mistakes with tiled roofs and 5 mistakes to avoid when laying PV cables as a homeowner.
Frequently Asked Questions (FAQ)
Which size fits my tile? 125 mm fits the Frankfurter Pfanne, 150 mm fits many other tiles, 105 mm is the compact version. If in doubt, our size guide helps.
Do I need to remove MC4 connectors? Not with our DIY series – cables are inserted from the side with connectors attached.
How many do I need? Usually 1–2 per single-family home, depending on strings and roof penetrations – not on the number of modules.
What is the gland made of? Of robust, UV-resistant TPU, Made in Germany.
What cables is it suitable for? For standard PV cables (typically 4–6 mm²) and earthing cables; variants for 2 or 4 cables.
How fast is delivery? Directly from stock, usually within a few working days; free shipping from €20 order value.
Conclusion
A clean, abrasion-protected roof penetration is small but crucial for the lifespan of your PV system. Choose the right size and number of cables, plan for 1–2 penetrations, and lay the cable protected in the tile – tool-free and without MC4 removal. You can find the right gland in our PV Cable Glands category; for multiple penetrations, it's cheaper in the Economy Set.
Earthing on the roof too? Our special guide shows you how to route solar cables and earthing/PE cables cleanly together: Routing PV earthing cables and solar cables together through a tiled roof.
Cables loosely laid? How to securely fasten solar cables on the roof surface without chafing (distances, UV-resistant clamps, protection at the penetration), read here: Fastening solar cables on the roof: distances, clamps & chafe protection.