Balcony Power Plant – What's Next?
You've decided on a balcony power plant – great idea. But now comes the question that many only ask during installation: How does the cable get from the module into the apartment or house without leaving a window ajar permanently or drilling an unsightly hole in the facade?
In this article, we'll show you the safest and cleanest options – whether you're going through an exterior wall, a window, or the roof.
Option 1: Routing the Cable Through the Exterior Wall
The most elegant solution for homeowners: You drill a clean hole through the exterior wall and feed the cable directly inside. The result is permanent, clean, and doesn't interfere with windows or doors.
What you need to consider:
- Choose the right hole size: The hole should not be much larger than the cable's outer diameter. The tighter the fit, the better you can seal it later.
- Protect the cut edge: Concrete and masonry have sharp edges. Without protection, the cable will wear through over time. A cable gland with a soft sleeve protects the cable at precisely this point.
- Don't forget the seal: The penetration must be sealed from the outside – rain, wind, and insects should stay out. A proper cable gland already provides this seal.
Option 2: Routing the Cable Through a Window or Door
This solution is popular because no drilling is necessary – but it has its drawbacks. If the cable is permanently clamped in a window frame, it will damage the insulation in the long run. Furthermore, a window that doesn't close properly loses energy and can become a problem in winter.
If you choose this option, use a special window cable feed-through frame – it closes cleanly and does not pinch the cable.
Option 3: Routing the Cable Over the Roof (for Roof Module Users)
If your balcony power plant is mounted on the roof or as an on-roof pitched roof system, you route the cable through the roof skin. Special requirements apply here:
- Watertightness is crucial: A leaky roof penetration means moisture ingress – with all the consequences for the structure below.
- Cable protection at the entry point: At the penetration point, the cable touches the tile or separating material. Without abrasion-resistant protection, the insulation will wear through here over time.
- Strain relief inside: Immediately after the penetration, the cable must be fixed so that no tension is applied to the seal.
The Most Frequent Question: Do I Need to Hire an Electrician?
For connecting to the power grid: yes, in most cases. For the cable routing itself – i.e., drilling and laying – many DIY enthusiasts can do it themselves. It is important that you use the right materials and install genuine cable protection at the penetration point, not just plaster on sealant.
Conclusion
Whether it's a wall, window, or roof – cable routing for a balcony power plant is solvable. It is crucial that you pay attention to watertightness and mechanical cable protection at the entry point. Then your system will run maintenance-free for years.
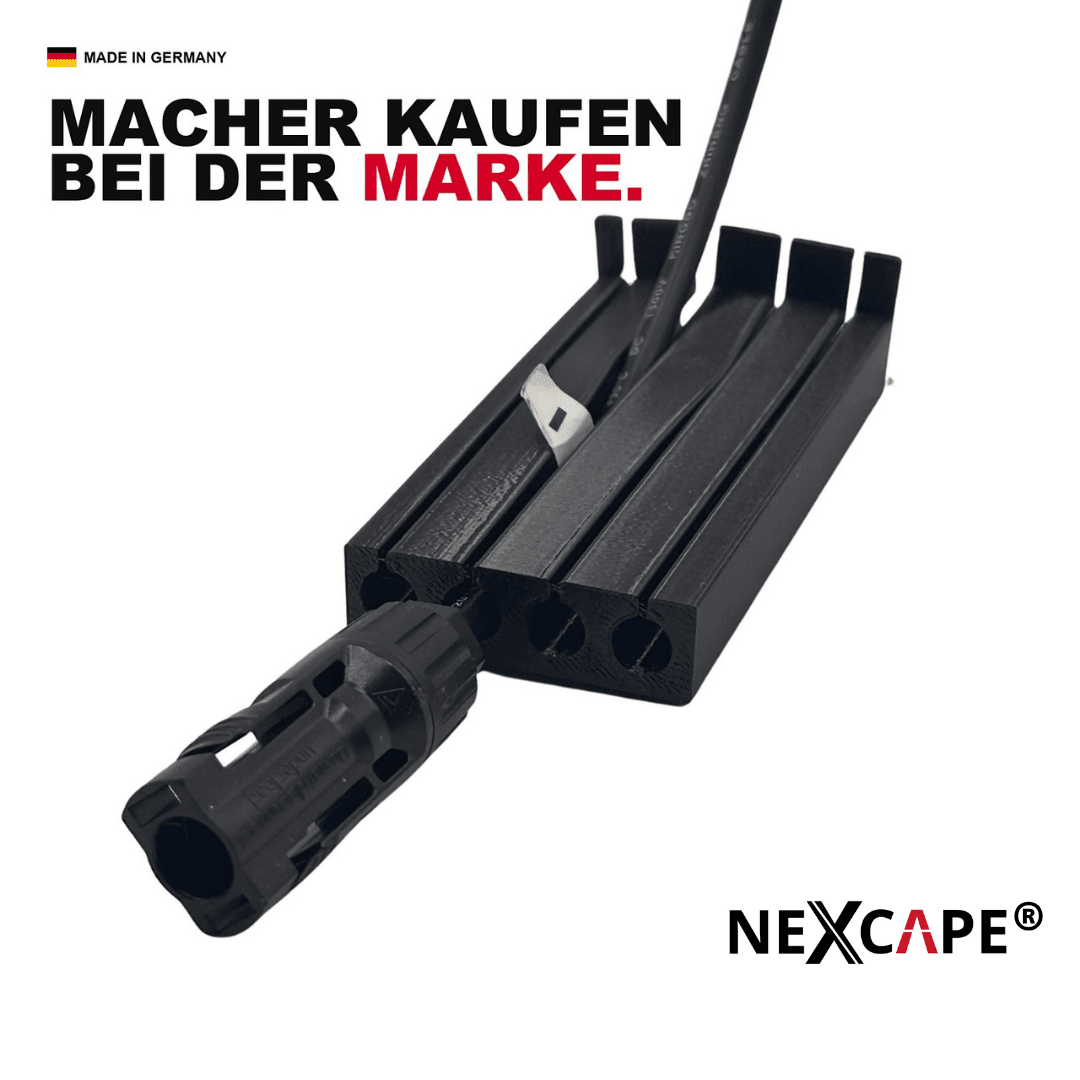
In the NEXCAPE® shop, you'll find suitable cable glands for walls and roofs – with integrated abrasion protection for permanent use.
For the secure routing of your balcony power plant cable through the tiled roof: our PV roof penetrations protect the cable from abrasion – Made in Germany.
Matching Product: View PV Roof Penetration Balcony Power Plant Complete Set
Matching PV roof penetrations from our workshop: All PV roof penetrations · DIY version without MC4 removal · 125 mm for Frankfurter Pfanne tiles · 150 mm for almost all roof tiles